

How to Get Started with Sitecore JSS

Curious about Sitecore JSS (JavaScript Services), but not sure where to start with it? In this post, I'll walk you through setting it up from scratch and deploying it to a Sitecore instance for the first time. I'll also look at some key areas of the sample applications that Sitecore JSS provides you.
This post will serve as a starting place for future articles where I'll explore various deployment techniques for Sitecore JSS applications.
Installing the Command Line Application
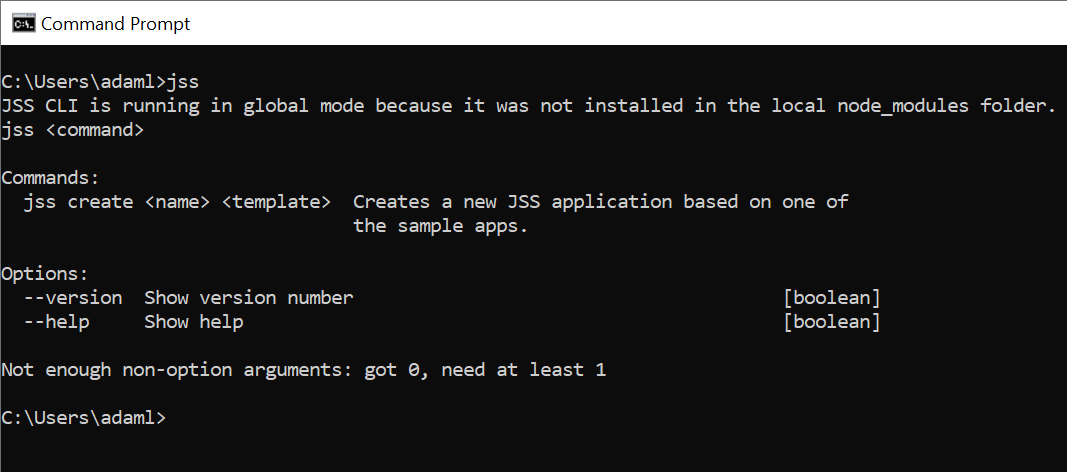
First, you'll need to install the Command Line (CLI) application, if you don't already have it. This CLI allows you to start new projects and perform other operations such as deploy your applications to Sitecore, scaffold components, and much more. This CLI is an NPM package and can be installed with NPM. You should install this globally so you can use it anywhere:
npm install -g @sitecore-jss/sitecore-jss-cliAfter installing this, you should be able to verify it's installed by running the following command:
jssAfter running this command, you should see some output from the CLI:
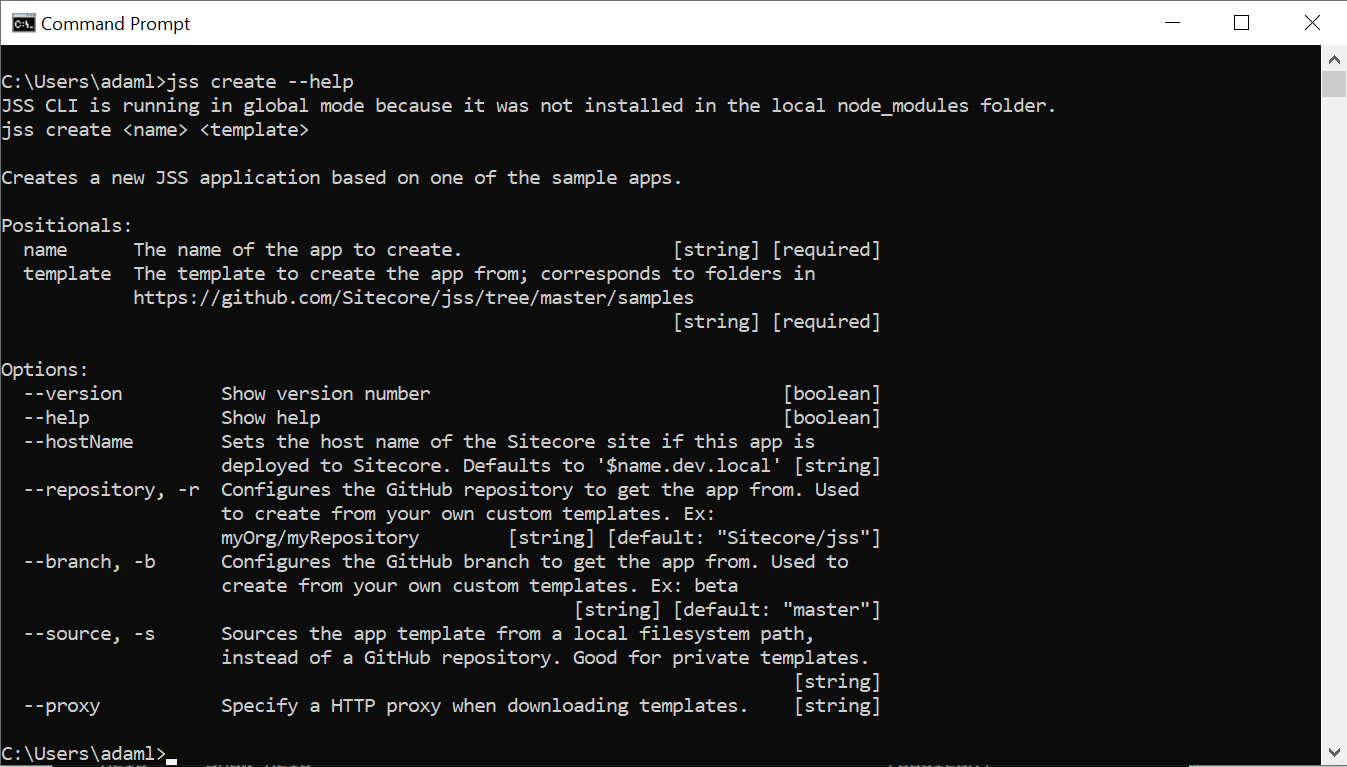
The CLI utility contains help screens for each individual command so if you're ever unsure of usage or want to see what options are available, you can run a command with the --help switch and it'll show you the options with a small text description:
Creating a Sitecore JSS Application
In the previous screen, you saw the help screen of the jss create command. This is exactly where you need to start with creating a Sitecore JSS application. Based on that help text, you could create a React application named myjssapp. To do that execute the following command:
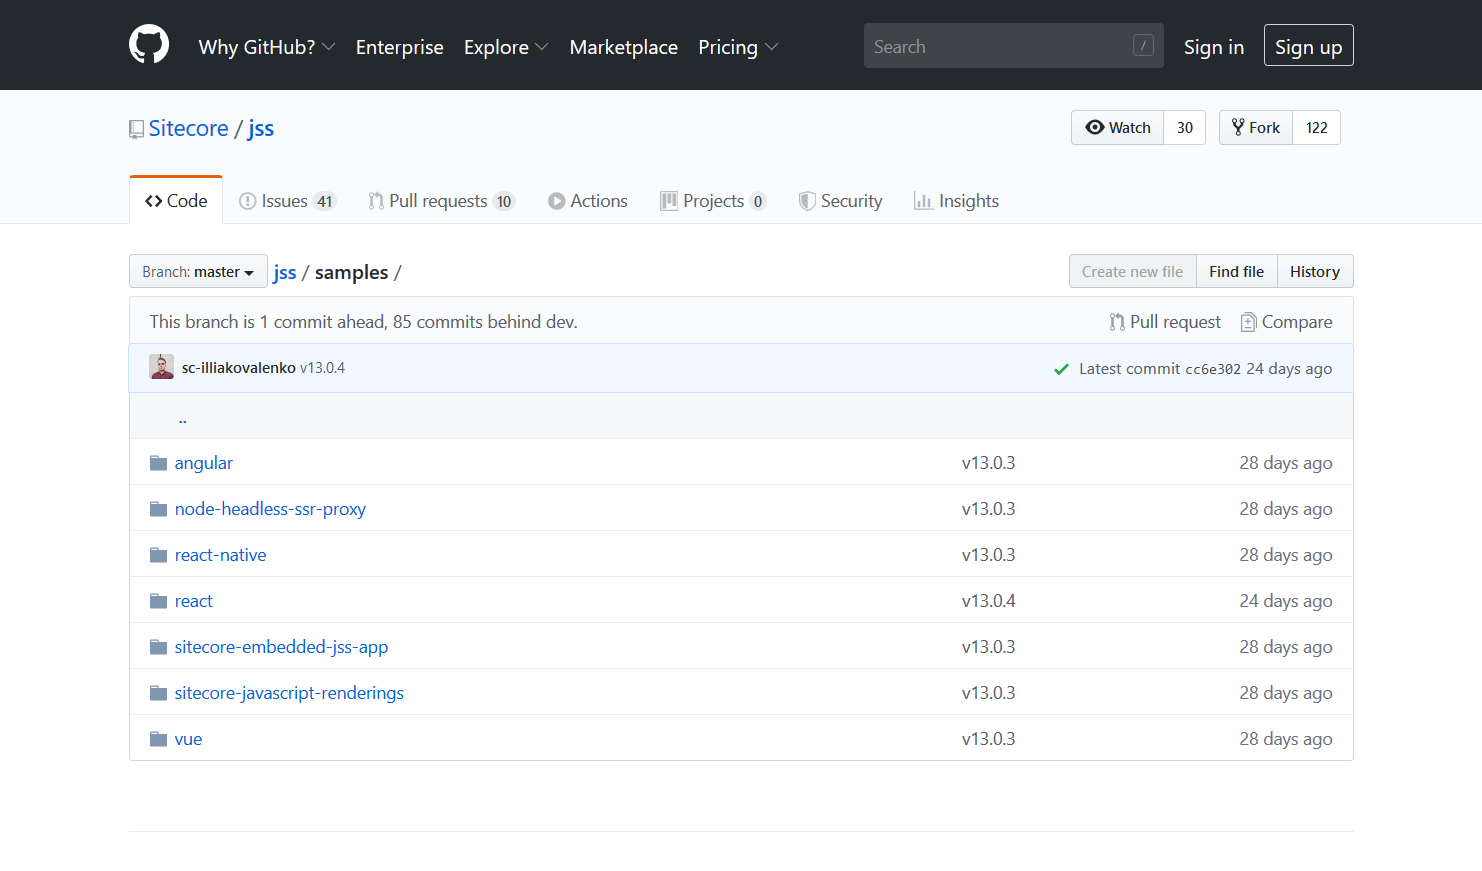
jss create myjssapp reactThe react part of this command is the template you will be basing this application on. What's a template though? If you look back at the help screen it will provide you a link to the main GitHub repository for Sitecore JSS and if you navigate to it, you'll see a bunch of folders and the template CLI parameter, which in this case is react which is just the name of the folder in this repository:
There are options to source from other repositories as well and host your own templates on GitHub. All of the information for these options are available in the help text of the jss create command.
After you execute this command, you should see a screen that looks like this:
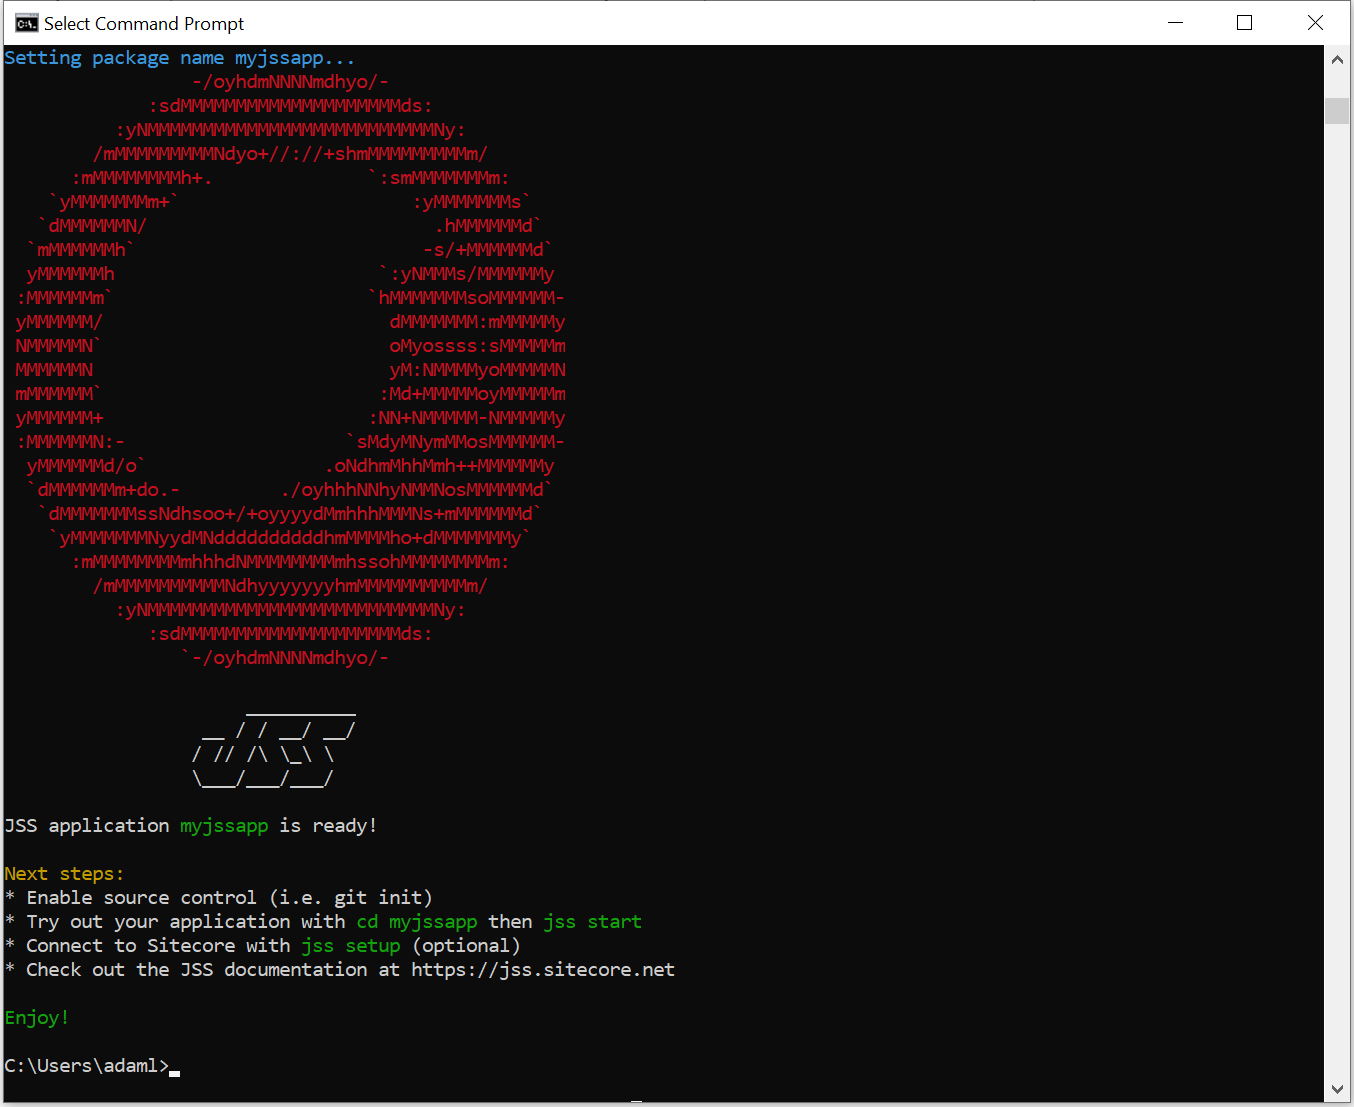
This screen provides you with your next steps. It indicates that it has created a directory using the name for your JSS application, myjssapp, and that we can navigate into this directory to start the application. I'll explore these next steps and the directory it has created.
Exploring the Application
Open up this directory in your code editor of choice. I prefer using Visual Studio Code while working with Sitecore JSS projects so that will be the editor pictured in the rest of the post.
Explore some of these folders:
data
The data directory allows you to scaffold Sitecore items for Disconnected Mode in your application.
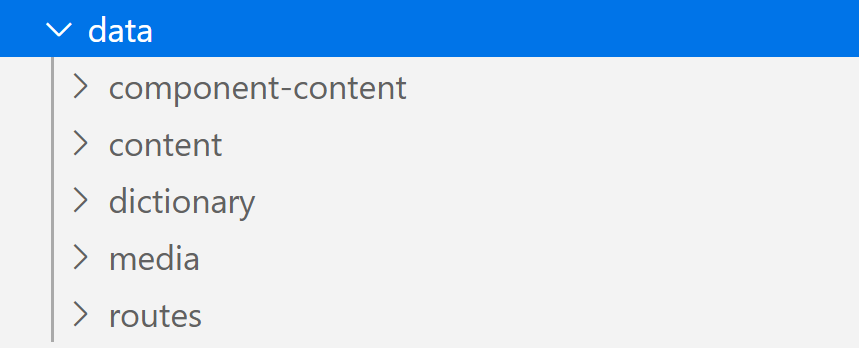
Each directory allows you to scaffold a different type of item:
- component-content - Think of this directory as a place where you would place global components you might want to reference from multiple routes.
- content - Contains items you will want to reference in your application but these items do not contain any associated presentation.
- dictionary - Define the dictionary items for your application here.
- media - Media files can be placed in this directory and could be deployed to the Media Library if you deploy your application to Sitecore.
- routes - Routes are items that you can navigate to and have presentations associated with them. These routes have placeholders and component definitions that could be thought of as renderings, using Sitecore terminology.
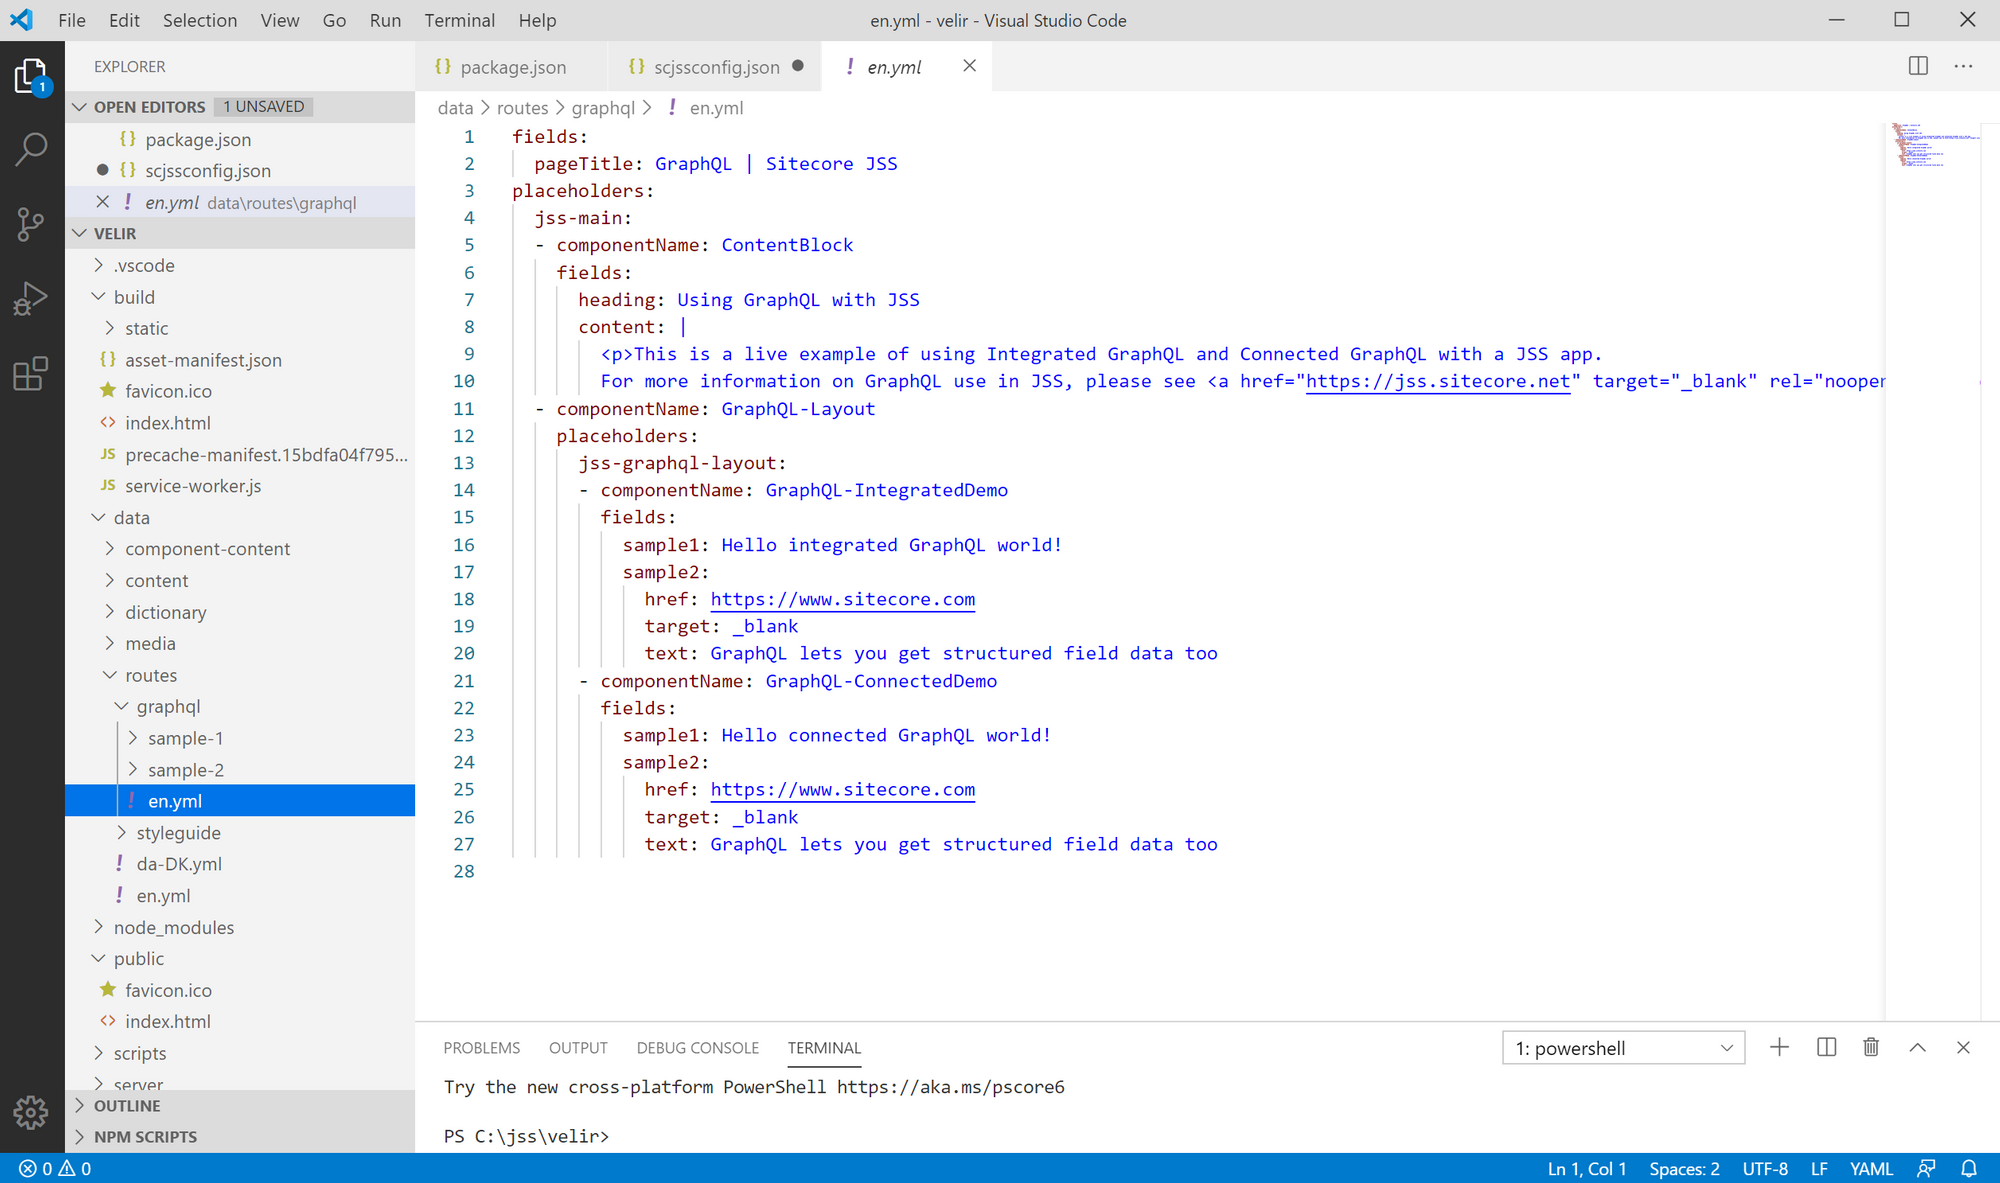
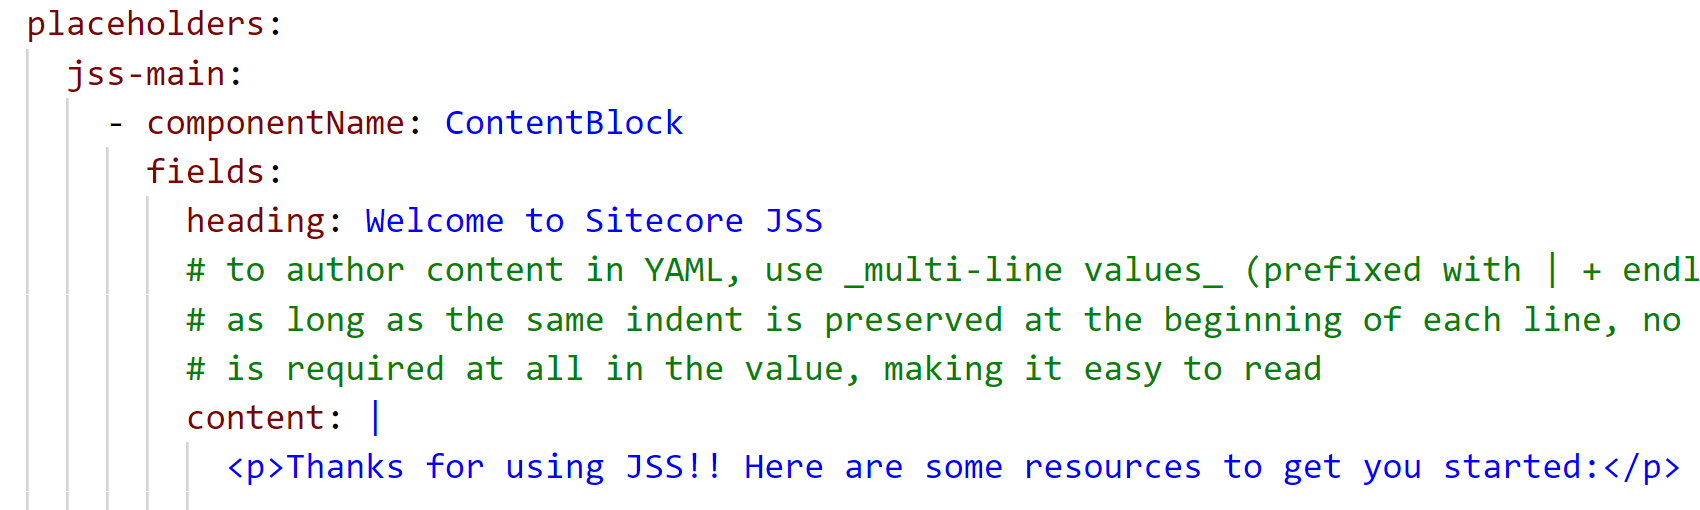
All of these folders contain yml files used to represent Sitecore items. For example, a route item might look like this:
A route item will contain page-level fields and allow you to define presentation components with the placeholders field. Multiple placeholders can be defined in this section. In the above example, the placeholder jss-main is defined but there's also a nested placeholder within the GraphQL-Layout component named jss-graphql-layout.
When you are working in Disconnected Mode, these files are read in and will be used to power your JSS application without you having to go into Sitecore and create these items. These items can also be deployed directly into Sitecore, which you'll do later on when you go into Connected Mode.
sitecore
The main directory I want to draw your attention to in here is the definitions/components sub-directory. This directory contains all of the template definitions for components.
There are a lot of default components when you first create your application and that's a good thing. The default application contains field usage for a lot of the built-in field components that Sitecore JSS provides. If you navigate into one of these files, such as ContentBlock.sitecore.js, you'll see a JavaScript export and a template definition for this particular template:
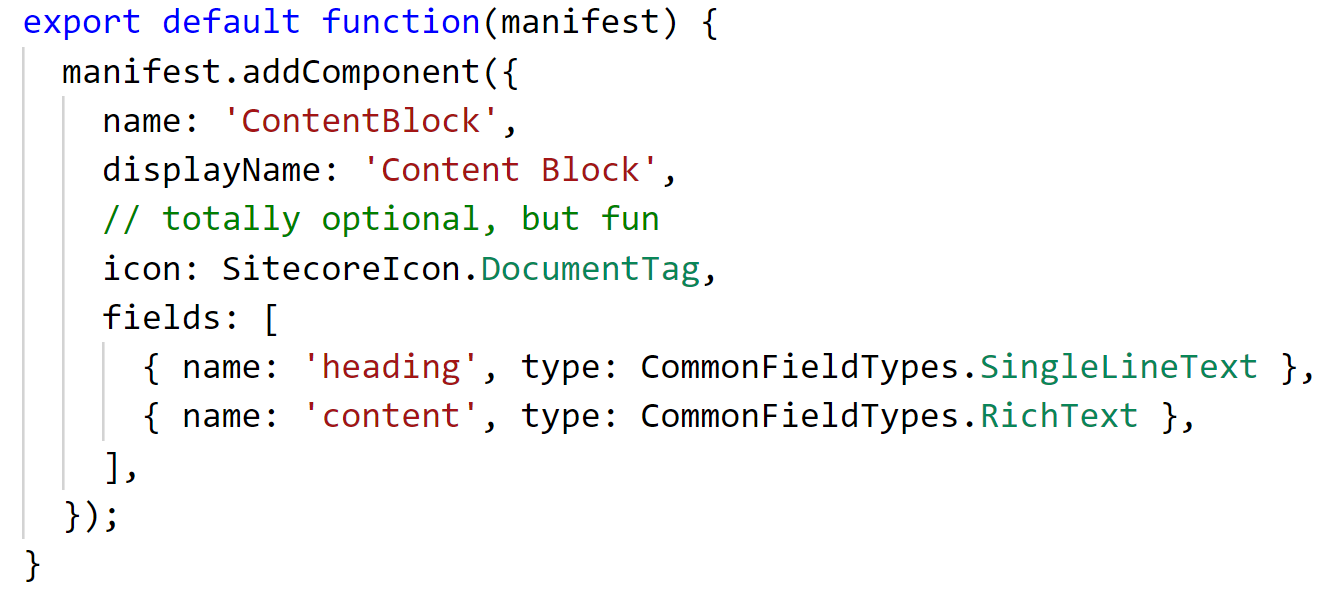
This should look fairly familiar to you if you've been in the Sitecore world for a while and is probably exactly how you would imagine defining a Sitecore template in JavaScript to look like. This particular component contains two fields, one is a Single Line Text and one is a Rich Text field.
These component definitions can be seen being used in the routes data directly we discussed in the previous section. For example, if you open one of the yml files in this directory you will see something like this:
As you can see here, there is a reference to the name field on our template definition in the componentName field. You are then also able to provide values for the fields that this component contains in this same definition.
Additionally, there is a templates directory right next to the components directory in the definitions directory. The templates directory can be used to define templates you will associate with content items and define in a similar way to components.
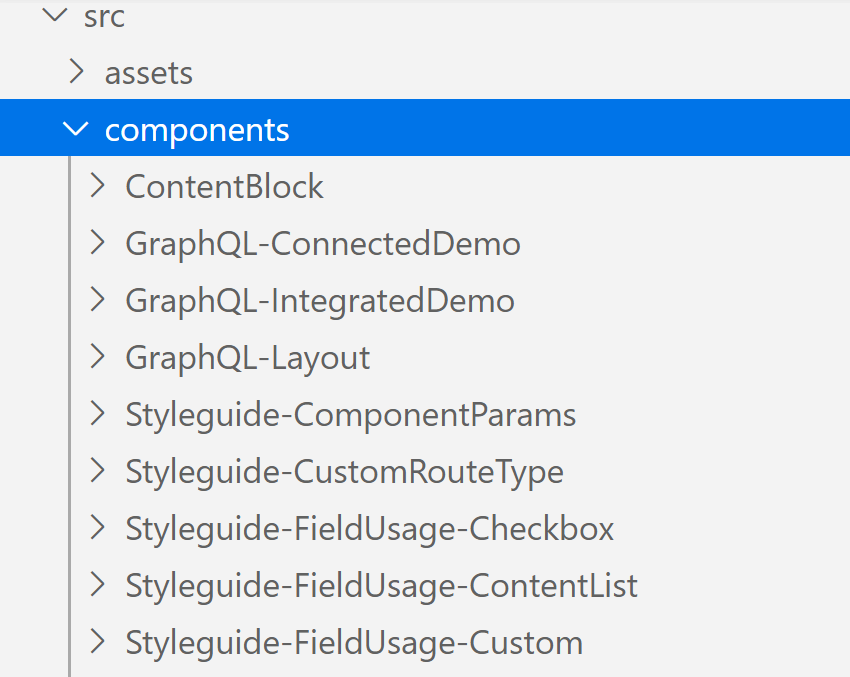
src
This directory is the actual source code of your application. There will be a directory for each of the components that are defined and used across the site:
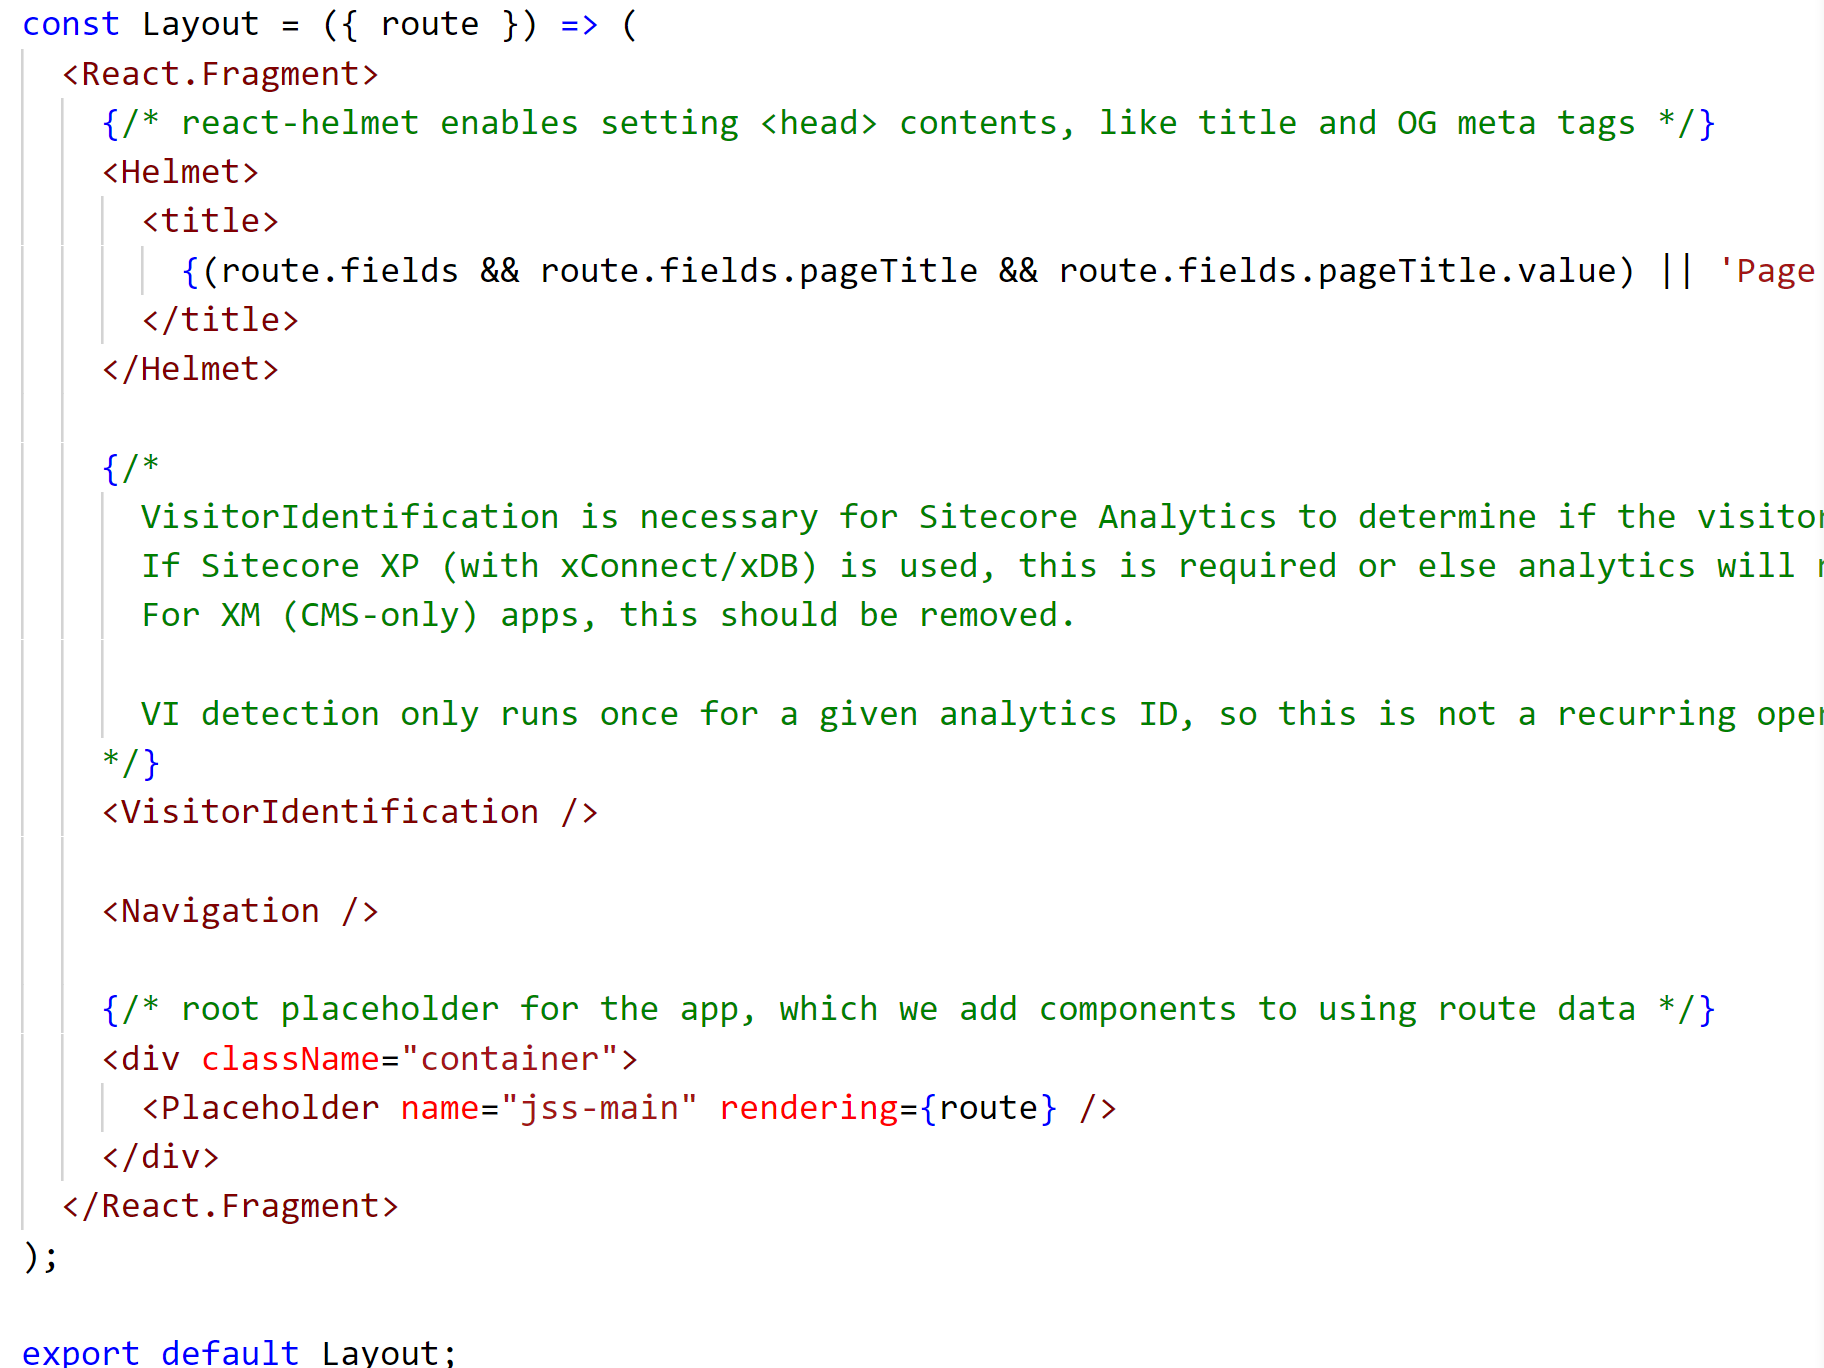
Additionally it will be the place where you will find the overall page structure of your application. For example, Layout.js defines the overall page structure and exposes the main placeholder, jss-main.
You'll leave all of these files as is for now and go ahead and start your application in Disconnected Mode.
Disconnected Mode
Disconnected Mode is an offline mode that will read the contents of your data directory and create mocked items from it. When you work in Disconnected Mode you will be working against this data and not against an actual live Sitecore instance.
Start disconnected mode by running the following CLI command:
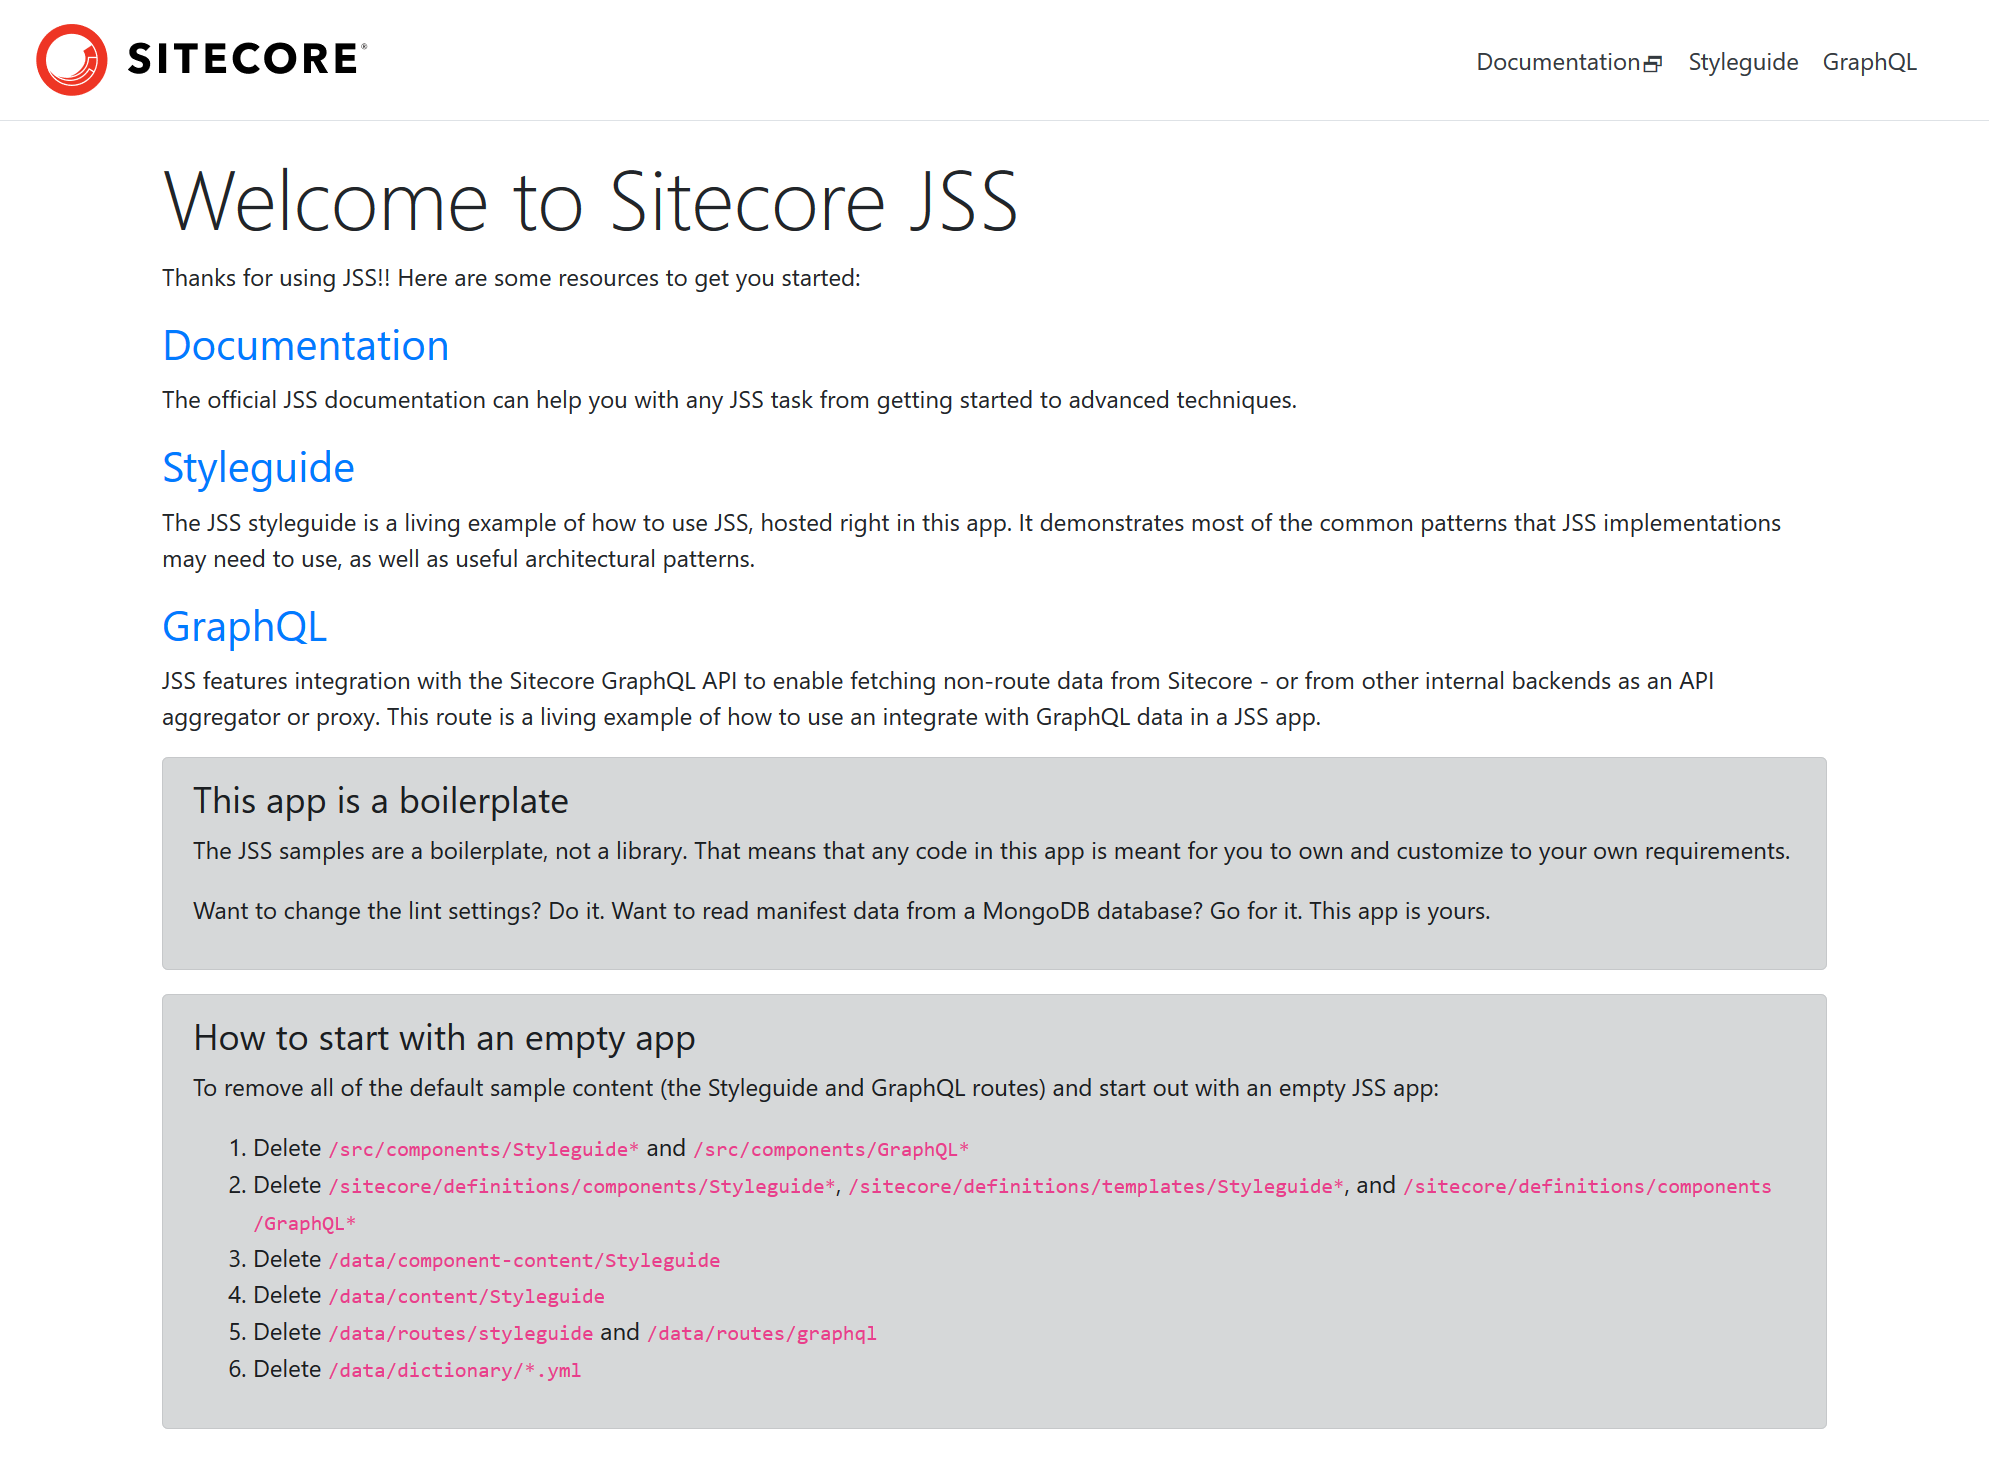
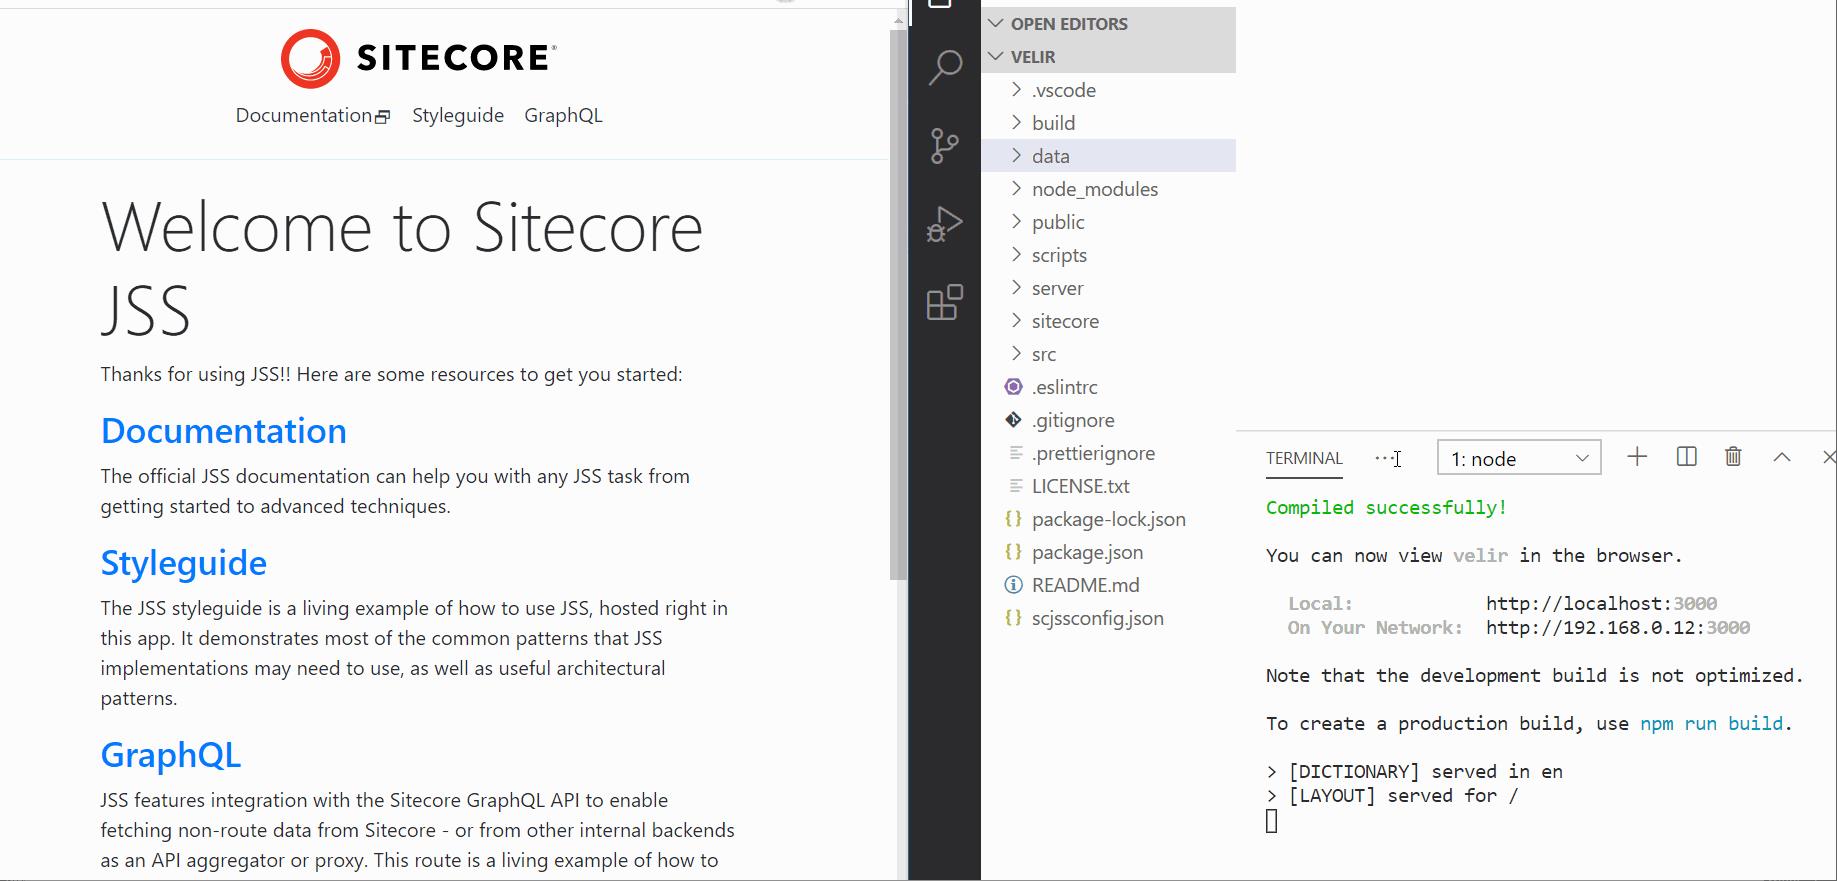
jss startAfter running this command you should see a build happen, and then a browser window will be opened and it will load http://localhost:3000/. You might recognize the component on the homepage from when we looked at the yml file in the previous section.
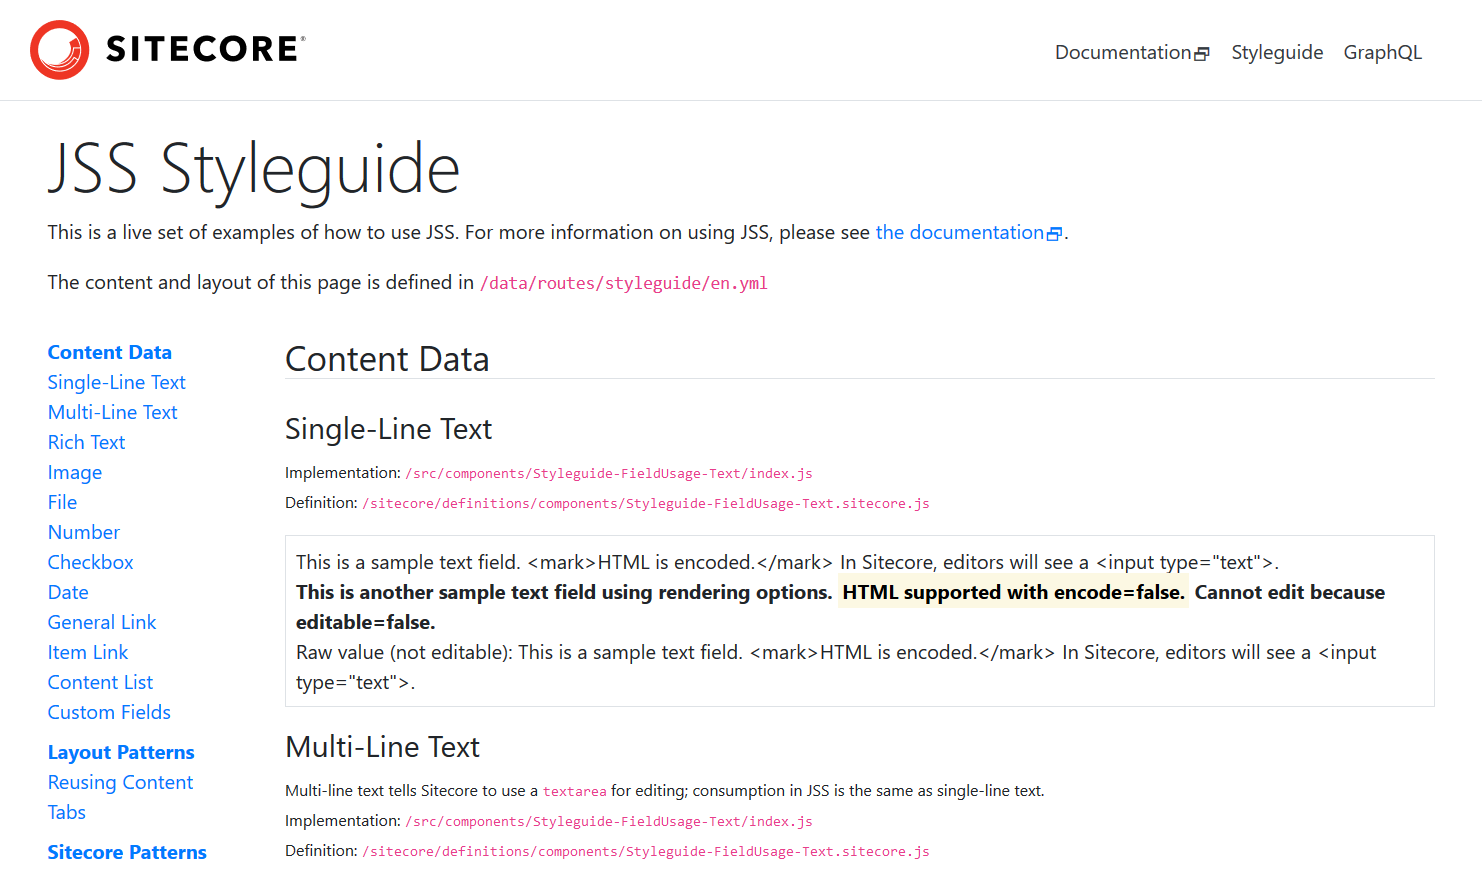
If you navigate over to the Styleguide tab you will see all of the different field usage components that come out of the box. I personally love this screen and find myself looking back to it to see all of the existing built-in functionality you get by default:
If you were to make a change to one of your yml files in the data directory or even a change to a component implementation, you will notice some great live reload functionality after you press save.
Disconnected Mode is great for getting started quickly and making progress without having to jump into Sitecore to define your templates. You won't see an actual Sitecore instance at all in Disconnected Mode.
Going Connected
Disconnected Mode is amazing to work with but after you've built something there, it's time to deploy your work to a Sitecore instance.
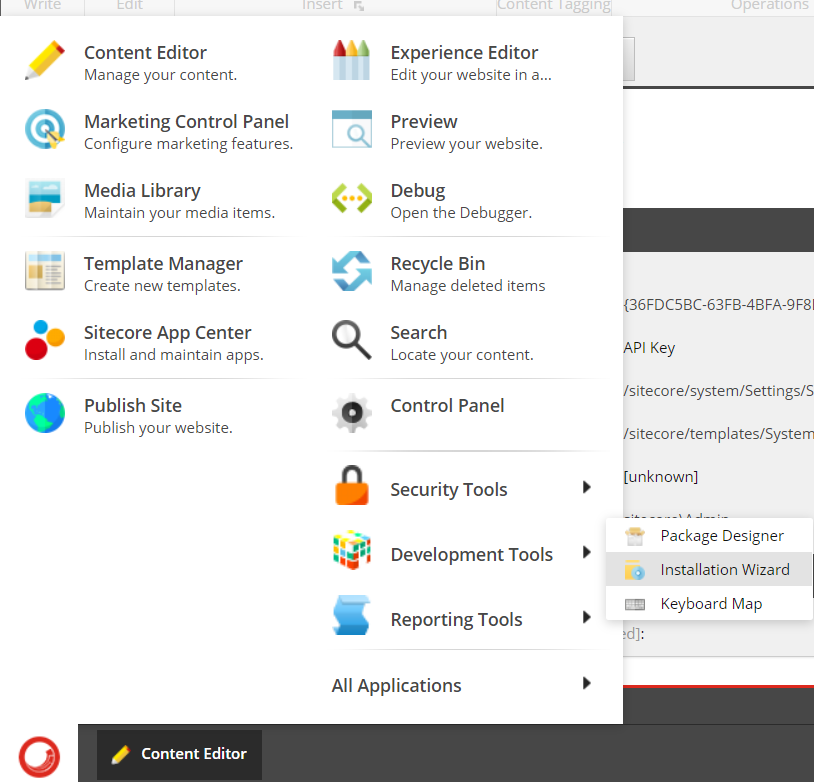
To be able to deploy your application to Sitecore you will need a have a Sitecore instance accessible. The first step will be to navigate to the Sitecore JavaScript Services page and download the page that corresponds with your version of Sitecore. Download this package and install it into Sitecore like you would install any other Sitecore package by using the Installation Wizard in Sitecore.
Follow the prompt and after it's installed create an API key that your application will use for authorization for requests it sends to the Sitecore JSS services.
Navigate to /sitecore/system/Settings/Services/API Keys in the master database (or core if you are using an older version of JSS) and create an item under this folder using the insert options on the folder. Create an API Key item and name it anything you want.
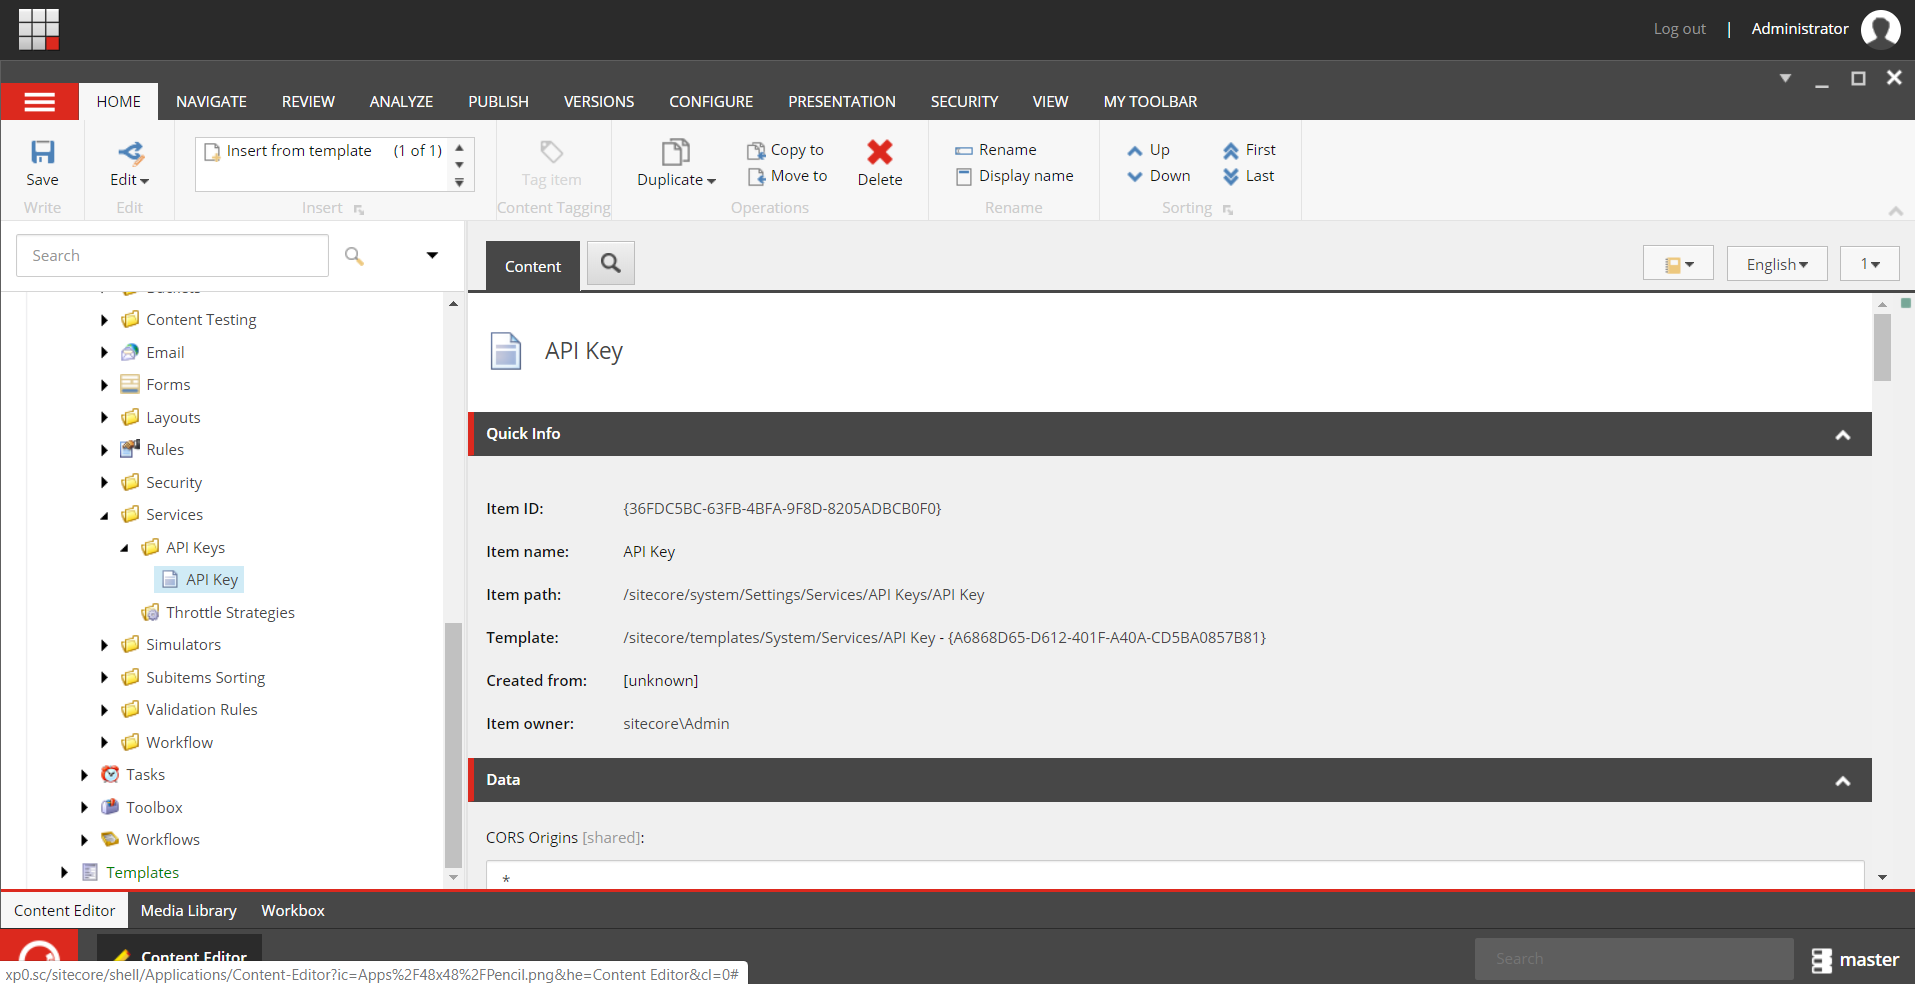
Please see "Step 2. API Key" located here for best practices for configuring this item for both development and suggestions for production configuration.
You need to do two things to be able to deploy your application for the first time though, first you'll start by setting up our application for deployment. Go back to the command line that is in your project directory and run the following command:
jss setupThis command tells your JSS application where Sitecore lives and what endpoint it will be hosted at. You will only need to run this command once.
During the setup command you will be prompted with the following questions:
Is your Sitecore instance on this machine or accessible via network share? [y/n]
Indicate if your Sitecore instance exists on the machine you are currently on. The most common answer to this is y if you're doing development on your local machine.
Path to the Sitecore folder (e.g. c:\inetpub\wwwroot\my.siteco.re)
This will be where your Sitecore instance is installed. Files are copied here during builds when doing connected work so the JSS CLI needs to know where to copy files to.
Sitecore hostname (e.g. http://myapp.local.siteco.re; see /sitecore/config; ensure added to hosts)
Sitecore will serve a version of your site at this address, this is what is called integrated mode. Integrated mode leverages server-side rendering to display your application. Additionally, this is where the API for layout service will be hosted.
Make sure you've added this host to your hosts file and an IIS binding on your Sitecore site.
Sitecore import service URL [http://myjssapp.local.dev/sitecore/api/jss/import]
Just hit enter here unless you want to change this address for any reason. I've yet to find a reason to change away from the default.
Sitecore API Key (ID of API key item)
Paste in the ID of the API Key that we created earlier in the beginning of this section.
Please enter your deployment secret (32+ random chars; or press enter to generate one)
Unless you already have one created that you want to reuse, you can just press enter to generate a new one.
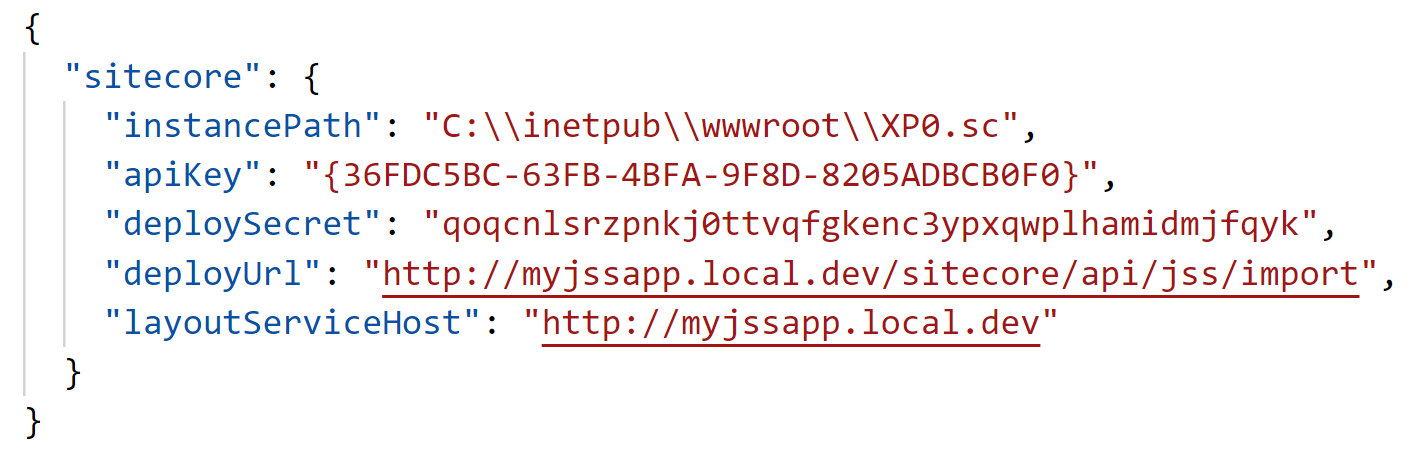
After you've answered all of these questions, you'll notice a new file created in the root of your project named scjssconfig.json. It will be filled with the questions you just answered:
You should now run the following command to deploy the configuration to your Sitecore directory. This command essentially copies sitecore/config/myjssapp.config to the App_Config directory of your Sitecore instance.
jss deploy configIf this command is successful and you have permissions to do the copy operation, then you will receive a success message.
After this command is successful you can deploy your application directly from the CLI as well. This command will build your application, sync all of your templates you've defined and create components that you have defined on all of your route definitions. The command is:
jss deploy app -c -dThe c switch says to include content and the d switch indicates that you should include dictionary items in this deployment. There are a lot of other operations and jss deploy app --help is your friend if you ever forget one.
This is the command you'll run whenever you want to deploy any new changes to your Sitecore instance.
After this deployment occurs you should be able to navigate to the URL you provided in the setup wizard, in our case it is http://myjssapp.local.dev/.
You should see your application rendered there in what is called "Integrated Mode", which is the mode in which Sitecore handles the server-side rendering of your application.
What's Next?
At this point, you should have a fully deployed Sitecore JSS application that you can start working in, either in Disconnected or Connected modes. I've shown you a lot of the main areas of the application itself and what role those locations will play.
In future posts, I'll use this solution as a baseline and will deploy it in different ways, such as fully client-side rendered, server-side rendered and even in a serverless configuration.